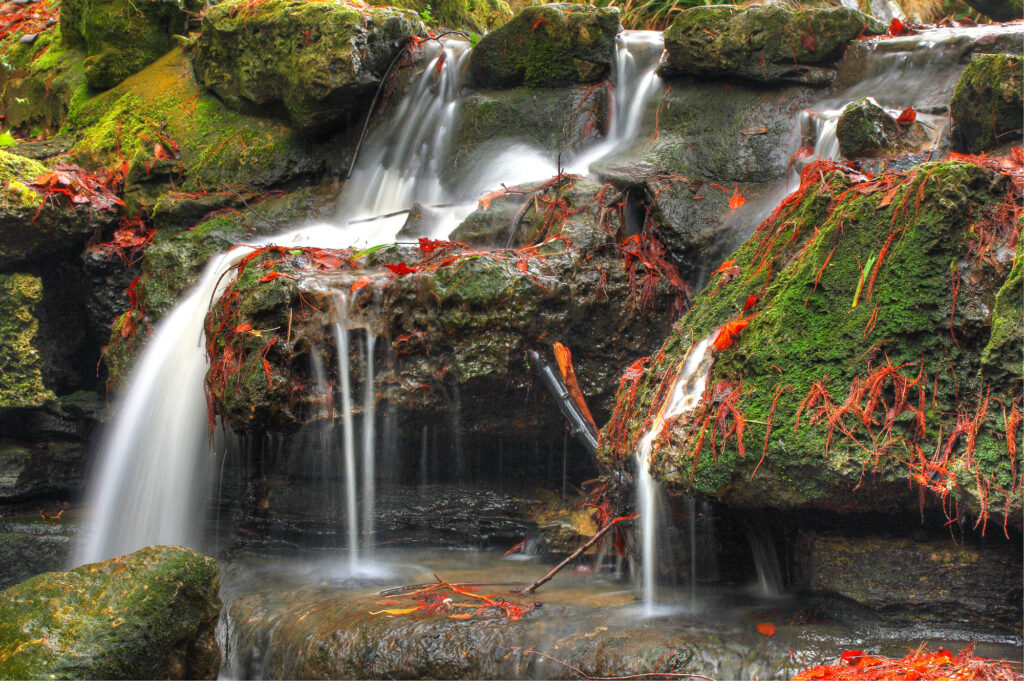
How to Photograph Waterfalls
Capturing waterfalls through photography is an art that requires both technical skills and an artistic eye. This comprehensive guide will equip you with the knowledge and techniques to take waterfall photographs that will leave viewers in awe. We’ll cover all aspects of waterfall photography to help you create images that stand out.
1. Research and Planning
Before embarking on your waterfall photography adventure, conduct thorough research. Look for waterfalls in your area or desired location, and find out their best times to visit. Consider factors like lighting conditions, weather, and accessibility to ensure you’re well-prepared.
2. Essential Equipment
Having the right gear is crucial for capturing high-quality waterfall photos. Invest in a sturdy tripod to keep your camera steady during long exposures. A wide-angle lens will help you capture the grandeur of the waterfall and its surroundings. Additionally, a polarizing filter can reduce glare and enhance colors, especially when photographing in bright conditions. It is also very important to have a lens cleaning cloth, being around spashing water and mist, you will need to have it available.
3. Camera Settings
Mastering your camera settings is key to achieving outstanding waterfall shots. Use a low ISO (100-200) to minimize noise, and set your camera to aperture priority mode (A or Av) for greater control over depth of field. Experiment with different shutter speeds to create the desired effect—long exposures (1-5 seconds) will result in smooth, silky water, while faster speeds can freeze the motion for a different effect.
4. Composition Techniques
Composition plays a vital role in waterfall photography. Use leading lines, such as rocks or foliage, to guide the viewer’s gaze toward the waterfall. Apply the rule of thirds to create a balanced and visually appealing image. Experiment with different angles and perspectives to find the most compelling composition. It is always a good idea to zoom in or out or switch lenses to get different perspectives.
5. Working with Light
Lighting is crucial in all types of photography, and waterfall photography is no exception. Overcast days or early morning/late afternoon light are often ideal for softer, more even lighting. Avoid harsh midday sunlight, as it can cause overexposed areas and harsh shadows.
6. Long Exposure Techniques
Long exposures are the hallmark of stunning waterfall photography. To achieve this effect, use a neutral density (ND) filter to reduce the amount of light entering the camera. This allows for longer shutter speeds without overexposing the image. Experiment with different exposure times to find the perfect balance between capturing motion and maintaining detail.
7. Capturing Movement
Incorporating the sense of motion in your waterfall photos can create a dynamic and captivating image. Try capturing the swirling water or cascading falls with a slower shutter speed (e.g., 1/15 to 1/30 seconds) to show the movement while maintaining some detail.
8. Post-Processing Tips
Post-processing can enhance the impact of your waterfall photos. Use software like Adobe Lightroom or Photoshop to adjust contrast, saturation, and sharpness. Be cautious not to overprocess, as it can lead to an unnatural look. Minor adjustments can make a significant difference in bringing out the best in your images.
Conclusion
Waterfall photography is an immensely rewarding genre that allows you to connect with nature and unleash your creativity. Armed with the knowledge and techniques provided in this guide, you’re now ready to venture into the world of waterfall photography with confidence. Remember, practice makes perfect, so keep refining your skills and embracing new challenges. May your photographic journey be filled with breathtaking moments and unforgettable captures. Happy shooting!
Please check out my YouTube channel below. Like and subscribe if you feel it was helpful.

