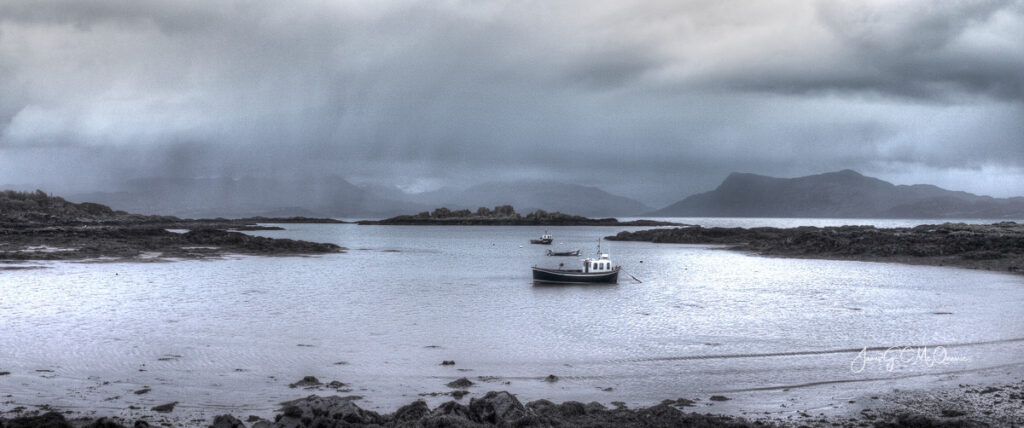
Shooting perfect panoramas takes work, however Panorama images offer a range of advantages that enhance both the quality and creativity of your photography. By stitching together multiple images, panoramas allow you to capture vast scenes that cannot fit in a single frame. This high-resolution approach enables you to print large, detailed images without sacrificing quality. The immersive viewing experience draws viewers into the image, and the unique compositions you can achieve make your work visually engaging and memorable.
Moreover, panoramas enhance depth and perspective, showcasing intricate details that might be lost in a single shot. They’re particularly useful for scenes with challenging lighting conditions, as they enable you to capture a wider dynamic range. The elongated format of panoramas creates striking visuals that stand out, while their ability to tell a complete story and convey a sense of place adds depth to your narrative.
Panoramas also encourage artistic expression and skill development. They challenge you to refine stitching techniques, attention to detail, and composition, fostering growth in your photography skills. Whether it’s capturing landscapes, architecture, or interior spaces, panoramas offer a versatile tool to elevate your photography, allowing you to share captivating images that leave a lasting impression.

Equipment Needed:
– Digital camera (point-and-shoot or DSLR)
– Tripod (for stability)
– Wide-angle lens (if available)
– Fully charged camera battery
– Memory card with sufficient space
– Comfortable clothing suitable for the weather conditions
– Optional: Remote shutter release (helps reduce camera shake)
Step 1: Choose a Subject and Scene
Select a landscape or scene that you want to capture as a panorama. Make sure the scene has interesting elements from left to right to create a visually engaging panorama.
Step 2: Set up Your Camera
- Attach your camera to the tripod to ensure stability. This is crucial for aligning the images accurately.
- If available, use a wide-angle lens to capture a larger portion of the scene. If not, use the lens you have.
- Turn on your camera and set it to manual mode (usually represented by “m”on the mode dial.
Step 3: Adjust Camera Settings
- Set the ISO to a low value (e.g., ISO 100) to minimize noise.
- Enable autofocus and compose your shot. Focus on a point roughly in the center of the scene, then switch the lens to manual focus mode to lock the focus.
Step 4: Test Exposure
For consistent exposure across all images:
- Point your camera at part the scene and take a photograph..
- Check exposure using the histogram on the camera and adjust exposure settings as needed.
Step 5: Set up Camera.
- Turn camera on the tripod to portrait format.

Step 6: Capture the Images
- Start from the left or right edge of the scene. Take the first shot while ensuring some overlap with the previous shot.
- Gradually move the camera horizontally to capture the next image, overlapping by around 20-30%.
- Continue taking images with the same overlap until you’ve covered the entire scene.
Step 7: Check for Consistency
Review the images on your camera’s LCD screen to ensure they’re consistent in exposure and composition. Adjust if needed.
Step 8: Transfer and Edit Images
- Transfer the images to your computer.
- Use photo stitching software like Adobe Lightroom, Photoshop, or dedicated panorama apps (often free) to combine the images into a panorama. Follow the software’s instructions to align and merge the images.
Step 9: Crop and Fine-Tune
- After stitching, you might have uneven edges or areas that need cropping.
- Make minor adjustments like color correction, contrast, and exposure if necessary.
Step 10: Save and Share
Save the final panorama as a high-resolution image. You can now share it online or get it printed.

I hope you have found this article useful. If you did, Please check out the rest of my posts.
You may find this article of interest, Using the rule of thirds in your photography.


Pingback: Shoot Landscape Photographs | 2nd Square Photography